

Project: SOS Flasher
S.O.S. Flasher

Let’s see in this project how we use a Pushbutton with an LED.
Component Required:
The components required for this project are:
Power -1
Pushbutton -1
LED -1
Gray Plate -1
CT2 – 6
Power Bank -1
USB to DC jack -1
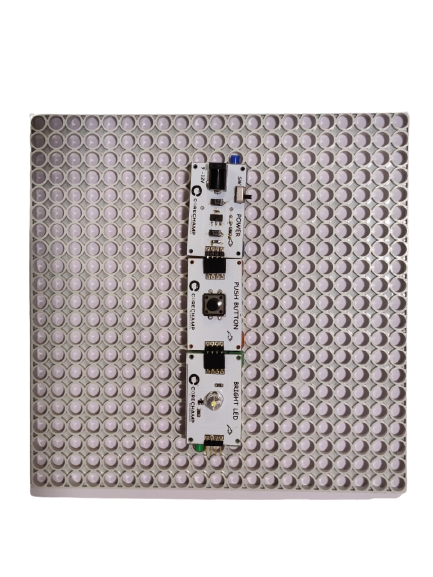
Circuit Connection :
Let’s start with the circuit.
Take the Power block and add a Pushbutton to it.
Join an LED at the end of the Pushbutton.
Now attach 6 CT2 at the bottom of each block. Make sure you attach the CT2 in all the holes.
Now place the Blocks on the Gray plate.
Attach a power bank with the USB to DC Jack.
Lastly, turn the slide switch ON of the Power block.
Now let’s test.
First, tap the Pushbutton ON for 3 times; each time is about 0.25-second to signal S. Then, you want to hold the key down for about 1-second three times for the O. Finally, repeat the S by tapping lightly for 0.25-seconds three times.
Remember:
After sending each character takes a small pause before starting the next character.
Similarly, try to encode and decode more characters. Just ensure the circuit is functioning properly and get ready to play the code game.
Do it yourself :
Below are some messages that you can try on this system:
- Hii – ________
- Positive – __________
- Corechamp – _________
- Hurrah – ________
Try sending more messages as well. You can even try developing your secret code language.